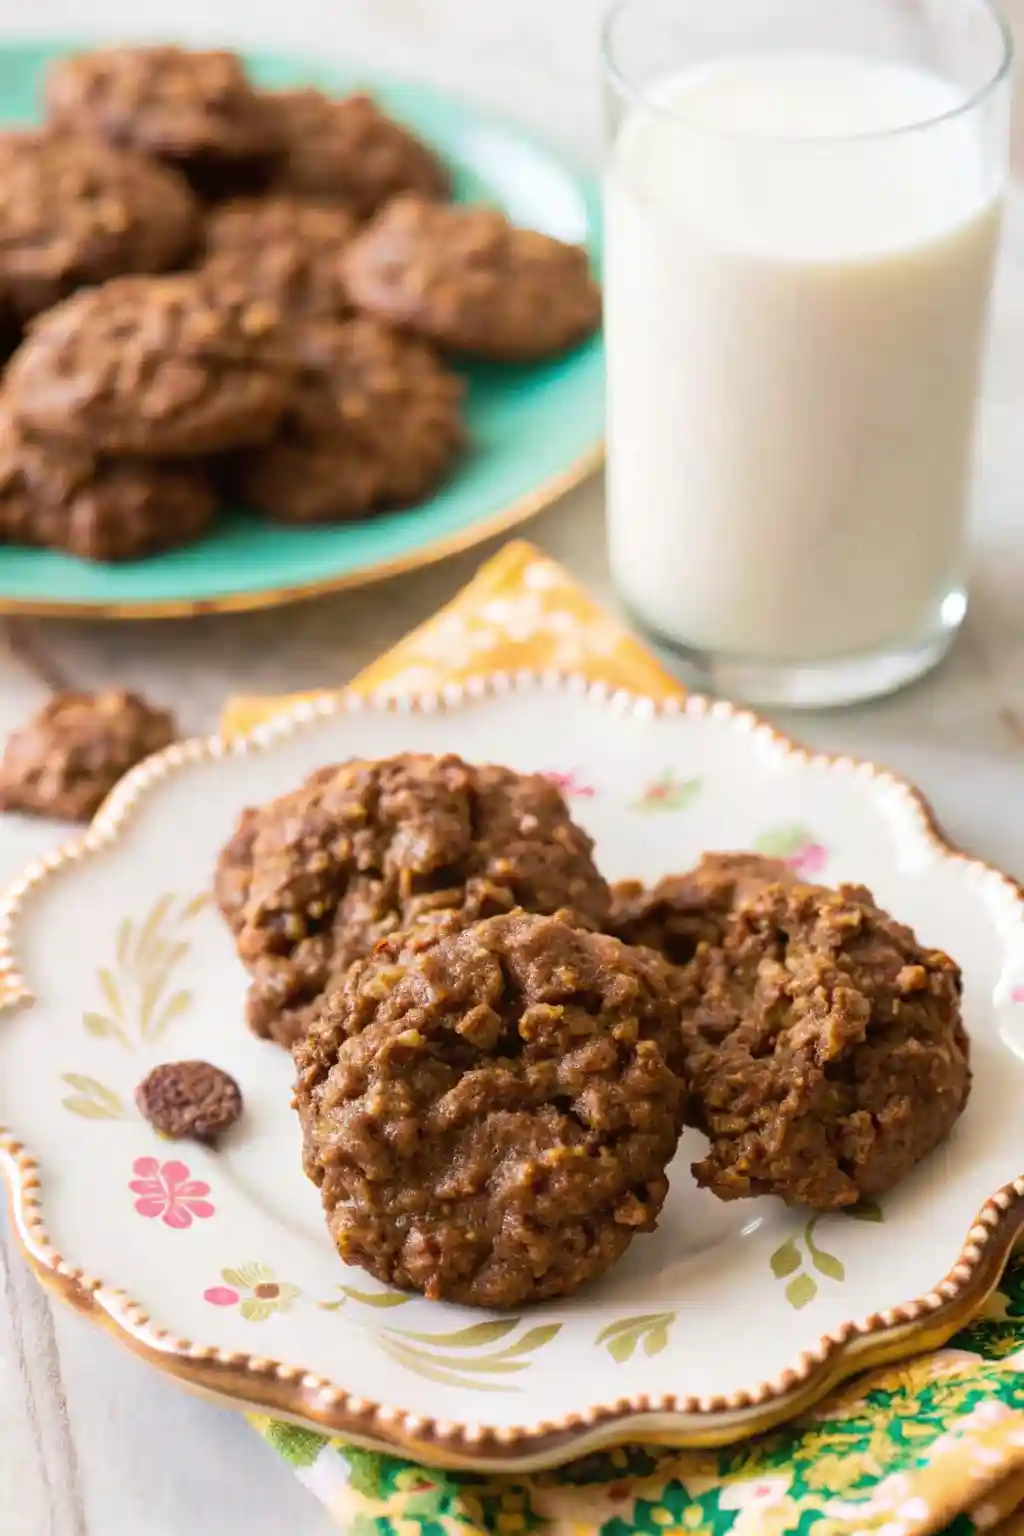
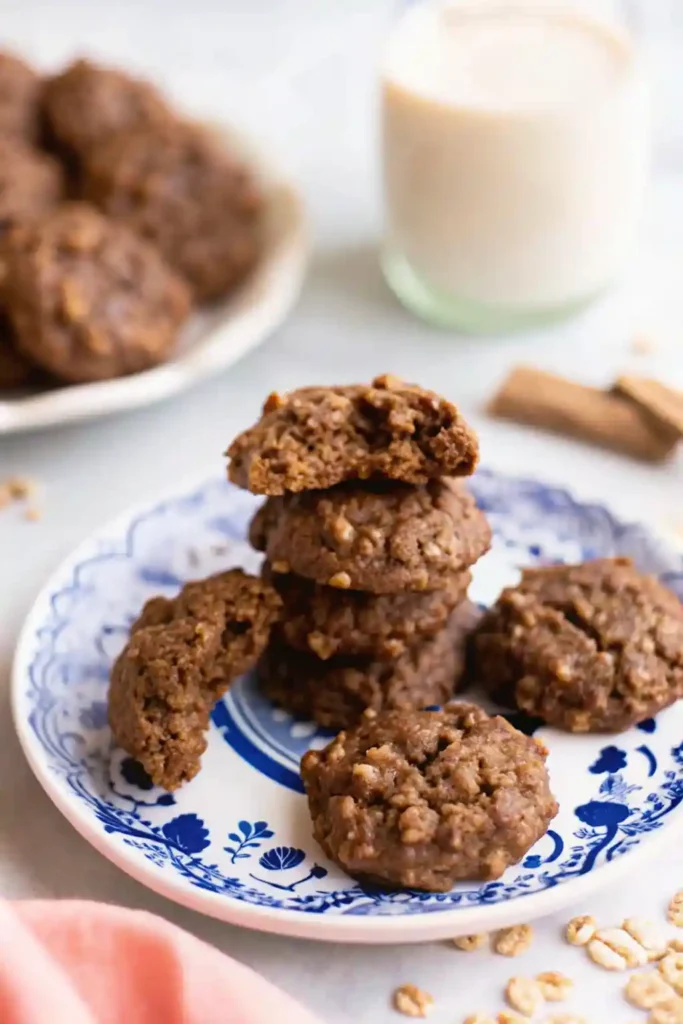
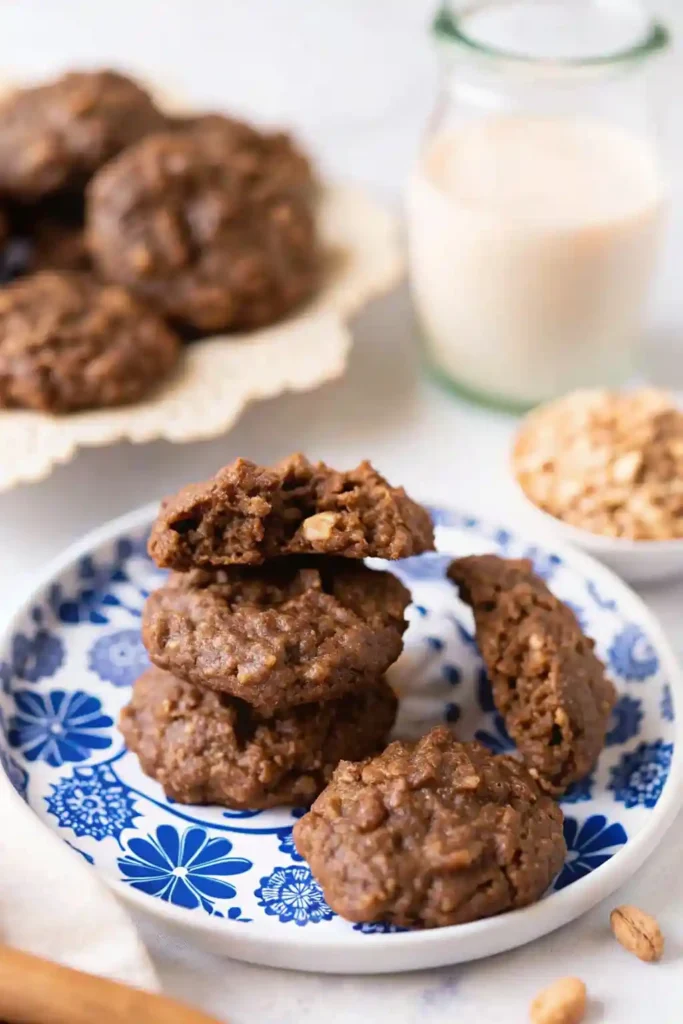
If there is one recipe that defines childhood for so many of us, it is the classic No-Bake Cookie. There is something almost magical about a dessert that requires zero oven time, uses a handful of humble pantry staples, and transforms into a fudgy, chewy masterpiece right on your countertop.
Whether you call them “Preacher Cookies,” “Cow Patties,” or simply “Chocolate Oatmeal Cookies,” these treats are the ultimate solution when a sugar craving hits but you don’t have the time (or energy) for a complex baking project.
This guide goes beyond the basic instructions. We are diving deep into the science of the “perfect boil,” exploring why ingredient choice matters, and ensuring you never end up with a dry, crumbly mess or a runny puddle again. Let’s get that pot on the stove!
Why This Recipe Will Become Your Go-To
In a world of complex French patisserie and multi-step layer cakes, the No-Bake Cookie stands out for its beautiful simplicity. Here is why this recipe earns a permanent spot in your recipe box:
- Zero Oven Required: Perfect for sweltering summer days when heating up the kitchen is a nightmare, or for dorm rooms and kitchenettes with limited appliances.
- One-Pot Wonder: You literally only need one medium saucepan and a spoon. Cleanup is virtually non-existent.
- Speed: From pantry to cooling on the counter in about 15 minutes. The hardest part is waiting for them to set.
- Texture Heaven: When done right, these offer a unique texture profile—part fudge, part oat bar, with a satisfying chewiness that is impossible to resist.
The Ingredients: Pantry Staples Done Right
You likely have everything you need for these cookies in your kitchen right now. However, because the list is so short, the quality and type of ingredients you use will make a massive difference in the final result.
1. The Oats: Quick vs. Old Fashioned
This is the most common debate in the no-bake community. For this recipe, Quick Oats are the superior choice. Because we aren’t baking these cookies, we rely on the hot sugar mixture to slightly tenderize the oats. Quick oats are cut smaller and thinner, allowing them to absorb that moisture and flavor rapidly, resulting in a cohesive, chewy cookie.
Can you use Old Fashioned (Rolled) Oats? Technically, yes. However, your cookies will have a much coarser texture, will be “chewier” in a raw-oat kind of way, and may not hold together as tightly. If that is all you have, give them a few pulses in a food processor first.
2. The Cocoa Powder
Use a standard Unsweetened Cocoa Powder. You don’t need fancy Dutch-processed cocoa here, though it will work if you prefer a darker color. Avoid sweetened cocoa mix (like hot chocolate mix), as it will throw off the sugar ratios and prevent the cookies from setting properly.
3. The Fat: Butter and Peanut Butter
- Unsalted Butter: This allows you to control the sodium. If you only have salted butter, just skip the pinch of salt later in the recipe.
- Creamy Peanut Butter: Commercial, shelf-stable creamy peanut butter (like Jif or Skippy) is actually best here. The emulsifiers in these brands help the cookies set firmly. Natural peanut butter (the kind that separates with oil on top) can sometimes lead to a greasier or more crumbly cookie because the oil doesn’t integrate as smoothly with the sugar syrup.
4. Sugar and Milk
Granulated white sugar is standard. It provides the crystalline structure necessary for the “fudge” matrix that holds the oats together. For milk, whole milk adds the best richness, but 2%, almond milk, or even soy milk works perfectly fine.
The Critical Step: Mastering the 60-Second Boil
If you take nothing else away from this article, let it be this: The boil time is non-negotiable.
Making no-bake cookies is essentially making candy. You are creating a sugar syrup that needs to reach a specific temperature (the “soft ball” stage, roughly 230°F – 235°F) to set properly.
The Goldilocks Zone
- Under-boiling: If you pull the pan off too early, the sugar hasn’t concentrated enough. Your cookies will never set; they will remain wet, sticky piles of chocolate oats that you have to eat with a spoon.
- Over-boiling: If you let it boil too long, too much water evaporates. The sugar crystalizes rapidly, resulting in dry, crumbly cookies that fall apart before they even cool.
How to Time It Perfectly
- Combine your sugar, butter, milk, and cocoa in the saucepan.
- Stir over medium heat until the butter melts and the mixture starts to bubble.
- WAIT until the mixture comes to a full, rolling boil. This means bubbles are rapidly breaking across the entire surface of the liquid, not just the edges.
- Start your timer immediately. Boil for exactly one minute.
- Remove from heat instantly when the timer beeps.
Step-by-Step Instructions
Step 1: Prep Your Station
Speed is of the essence once the mixture comes off the heat. Before you turn on the stove, measure out your oats, peanut butter, and vanilla. Line two baking sheets with parchment paper or wax paper. You won’t have time to do this later!
Step 2: The Boil
In a medium saucepan (approx. 2-3 quart), combine:
- 1 ½ cups granulated sugar
- ½ cup milk
- ½ cup unsalted butter
- ¼ cup unsweetened cocoa powder
Whisk constantly over medium heat. Once it hits that aggressive rolling boil, let it rip for exactly 60 seconds without stirring too much.
Step 3: The Mix
Remove the pan from the heat. Immediately stir in:
- ¾ cup creamy peanut butter
- 2 teaspoons vanilla extract
Stir vigorously until the peanut butter is completely melted and the mixture is smooth and glossy. Now, pour in:
- 2 ½ cups quick oats
Fold the oats in with a sturdy spatula/spoon until every single flake is coated in chocolate.
Step 4: The Scoop
Working quickly (the mixture begins to set as it cools), use a medium cookie scoop or two spoons to drop mounds of dough onto your prepared parchment paper. You should get about 24-30 cookies depending on the size.
Step 5: The Wait
Let the cookies sit at room temperature for 20 to 30 minutes. As they cool, the sugar structure will firm up, transforming them from wet mounds into solid, chewy cookies.
Customizations and Variations
While the classic is hard to beat, this base recipe is incredibly versatile.
- Nut-Free: Swap the peanut butter for cookie butter (Biscoff) or sunflower seed butter. The texture remains surprisingly similar!
- Coconut Delight: Reduce the oats by ½ cup and swap in ½ cup of sweetened shredded coconut for a chewy, tropical twist.
- Extra Crunch: Stir in ¼ cup of chopped pecans or walnuts along with the oats.
- Mocha: Add a teaspoon of espresso powder during the boiling phase to intensify the chocolate flavor.
Troubleshooting Your Cookies
Problem: My cookies are dry and crumbly.
- Cause: You likely boiled the mixture too long, or your heat was too high.
- Fix: Next time, reduce the heat slightly or start your timer a few seconds later. If you catch it happening while mixing (the oats look dry), try stirring in an extra tablespoon of peanut butter to bind it.
Problem: My cookies are gooey and won’t set.
- Cause: The mixture didn’t boil long enough, or it was a very humid day (humidity affects candy making!).
- Fix: Pop them in the refrigerator. The cold will help the butter solidify, making them edible, though they may soften again at room temperature.
Storage and Freezing
These cookies are remarkably durable.
- Room Temperature: Store in an airtight container on the counter for up to 1 week.
- Refrigerator: If you prefer a firmer, cold cookie, keep them in the fridge for up to 2 weeks.
- Freezer: These freeze beautifully! Layer them between sheets of wax paper in a freezer-safe container. They will last for up to 3 months. Thaw on the counter for 10 minutes before eating (or eat them frozen—we won’t judge).
Frequently Asked Questions
Can I use brown sugar instead of white? You can, but it changes the texture. Brown sugar has more moisture (molasses), which can make the cookies slightly softer and more caramel-like. A 50/50 split works well if you want to experiment.
Why do my cookies look dull instead of glossy? This usually happens if the sugar began to recrystallize before the cookies set. Ensuring the butter and sugar are fully dissolved before the boil starts helps prevent this.
Are these gluten-free? Naturally, yes—if you use certified gluten-free oats. Ensure you check the label, as standard oats are often processed in facilities that handle wheat.
The Best No-Bake Cookies (Classic Chocolate Oatmeal)
Ingredients
Equipment
Method
- Line two baking sheets with parchment or wax paper. Measure out all ingredients before starting—the recipe moves quickly.
- In a medium saucepan, combine sugar, milk, butter, and cocoa powder. Heat over medium, stirring until melted. When the mixture reaches a full rolling boil, start a timer and boil for exactly 60 seconds.
- Remove from heat immediately. Stir in the peanut butter and vanilla until melted and smooth.
- Add quick oats and stir until every flake is coated and the mixture thickens.
- Quickly drop spoonfuls (or use a cookie scoop) onto prepared baking sheets. Let cool 20–30 minutes until set.

