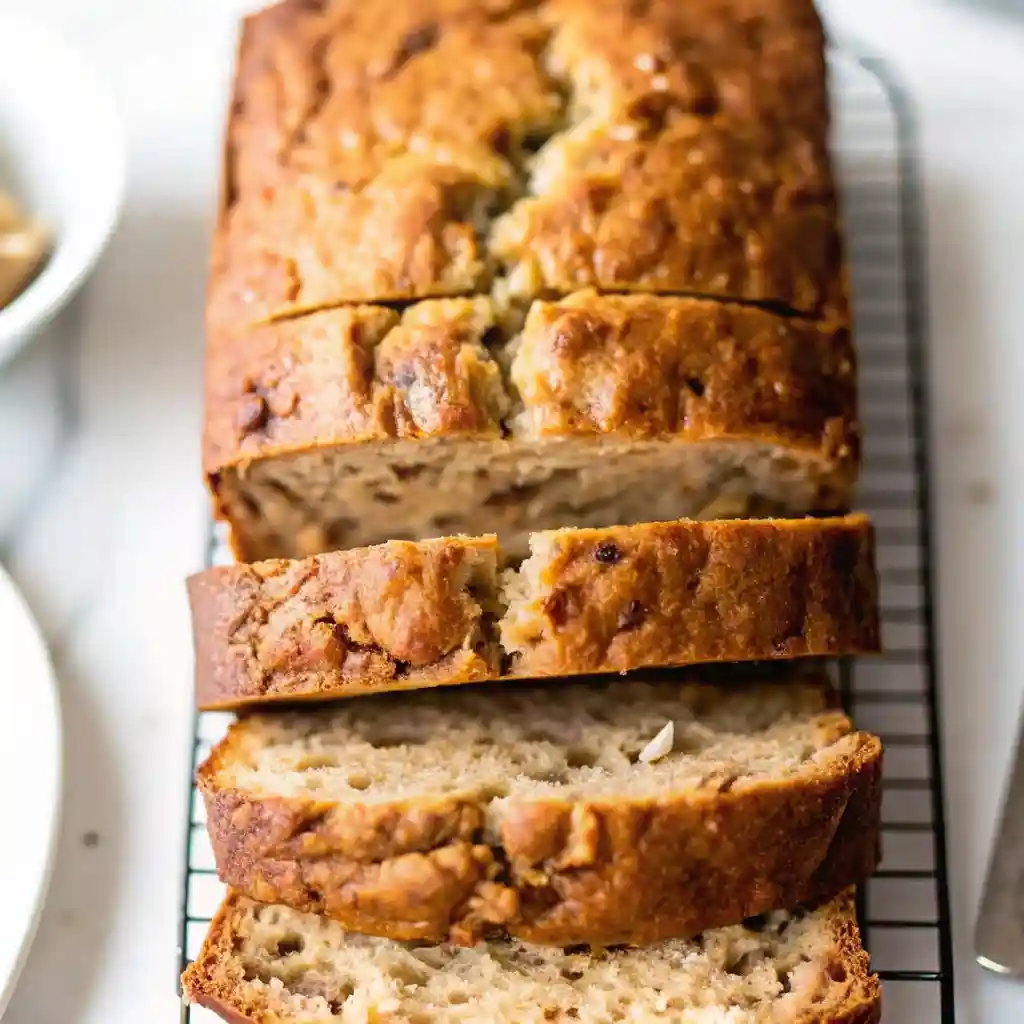
In the pantheon of American home baking, few recipes carry as much nostalgic weight as a warm, fragrant loaf of banana bread. Born out of necessity during the Great Depression as a way to salvage overripe fruit and popular-ized with the advent of chemical leavening agents like baking powder and soda, it has evolved into the quintessential comfort food. However, there is a vast difference between a “standard” banana bread and a “Gourmet” one. This Moist Homemade Banana Bread is the latter—a masterclass in texture and flavor balance that yields a succulent, dense, and aromatic crumb that stays fresh for days.
The secret to this specific recipe lies in the “moisture-lock” technique, which utilizes a precise ratio of fats—melted butter and full-fat sour cream—to ensure the sponge never turns dry or “bready.” Unlike versions that rely on oil alone, the butter provides a rich, toasted flavor that complements the natural sugars of the bananas. Whether you are seeking the perfect solution for those black-spotted bananas on your counter or looking for a high-impact edible gift for a neighbor, this guide will walk you through the professional secrets of the “sugar-crust” finish and the science of the perfect fruit-to-flour ratio.

Why You’ll Love This Recipe
- Bakery-Standard Moisture: The inclusion of sour cream (or Greek yogurt) provides a level of succulent density that mimics high-end artisan bakery loaves.
- The Perfect Caramelized Crust: By using a higher ratio of brown sugar and a high-heat start, the exterior of the loaf develops a deep mahogany color and a slight “snap” while the center remains soft.
- Complex Natural Sweetness: We prioritize using the most overripe bananas possible, allowing the natural starches to convert to sugar for a deep, tropical flavor profile.
- Versatile and Forgiving: This base recipe is a resilient canvas that can be adapted with nuts, chocolate chips, or a swirl of cinnamon sugar without collapsing.
- Two-Bowl Simplicity: You don’t need a stand mixer or a food processor; this recipe is designed to be mixed by hand to prevent over-working the gluten.
Ingredient Notes & Pro Selections
The quality of your ingredients is the primary factor in moving your banana bread from “home-style” to “Gourmet.” Here is how to shop for success.
The Bananas
- The Ripeness Rule: For this recipe, your bananas should be past the point of eating fresh. Look for skins that are more black than yellow. The darker the banana, the more concentrated the sugar and the higher the moisture content, which is essential for a moist bread.
- The Prep: Do not puree the bananas in a blender. Mashing them by hand with a fork leaves small, invisible “nuggets” of fruit that release moisture slowly as the bread bakes.
The Fat & Dairy
- Unsalted European Butter: Because the flavor of the butter is so prominent, a high-fat brand (like Kerrygold) is preferred for a richer, more “shortbread-like” aftertaste.
- Full-Fat Sour Cream: This is the “Gourmet” secret weapon. The lactic acid in the sour cream breaks down the gluten in the flour, resulting in a crumb so fine it melts on the tongue.
The Sugars
- The 50/50 Split: We use a combination of Granulated White Sugar and Light Brown Sugar. The white sugar helps the edges crisp and caramelize, while the brown sugar adds the molasses-rich moisture needed for the interior.
The Aromatics
- Vanilla Bean Paste: If possible, swap standard extract for paste. The visible vanilla specks add a level of visual sophistication that signals a high-quality bake.
- Cinnamon and Nutmeg: Just a hint of warm spices enhances the tropical notes of the banana without turning it into a “spice bread.”
The Science of Texture: Why “Quick Bread” Isn’t Cake
To master this recipe, one must understand the chemistry of quick breads. Unlike cakes, which are often aerated by creaming cold butter and sugar, banana bread is a “muffin-method” bake. This means the fats are liquid (melted butter) and the dry ingredients are gently folded in.
- Gluten Management: The most common mistake in banana bread is over-mixing. Once the flour hits the wet ingredients, gluten begins to form. Over-mixing creates a tough, rubbery structure. We mix just until the flour disappears to ensure a tender, cake-like finish.
- Chemical Leavening: The interaction between the baking soda and the acidic sour cream creates an immediate carbon dioxide reaction. This is why we preheat the oven first—you want the batter to hit the heat while those bubbles are at their peak.
Step-by-Step Instructions
Step 1: Prep and Preheat
Preheat your oven to 350°F (175°C). Grease a standard 9×5-inch loaf pan generously with butter.
- The Parchment Trick: Line the pan with a strip of parchment paper that overhangs the long sides. This “sling” ensures you can lift the heavy, moist loaf out of the pan without it sticking or breaking.
Step 2: The Manual Mash
Peel your 3 to 4 large, overripe bananas into a bowl. Use a fork to mash them until they are mostly smooth but still have a few small, soft lumps. You want approximately 1.5 cups of mash.
Step 3: Mix the Wet Base
In a large mixing bowl, whisk together the melted butter, granulated sugar, and brown sugar until smooth. Add the large eggs, vanilla bean paste, and sour cream. Whisk vigorously for about 1 minute until the mixture is pale and glossy. Stir in the mashed bananas.
Step 4: Fold in the Dry Ingredients
In a separate medium bowl, whisk together the all-purpose flour, baking soda, salt, and cinnamon. Sift the dry ingredients directly into the wet bowl. Using a rubber spatula, use a “folding” motion (cutting through the center and lifting from the bottom) to combine. Stop immediately when the last streak of white flour is no longer visible.
Step 5: The Bake
Pour the batter into the prepared loaf pan and smooth the top. Bake for 55 to 65 minutes.
- The Doneness Test: Insert a long wooden skewer or a thin knife into the center. It should come out clean or with just one or two moist crumbs. If the top is browning too fast but the center is still wet, tent the pan loosely with aluminum foil for the final 10 minutes.
Step 6: The “Center-Slice” Cool
Let the bread cool in the pan for 15 minutes. Use the parchment sling to transfer it to a wire rack. Crucial Advice: Resist the urge to slice the bread while it is hot! As the bread cools, the steam remains inside, finishing the “set” of the crumb. Slicing too early will result in a gummy, wet texture.
Secrets to the Ultimate Succulent Loaf
- Room Temperature Ingredients: Ensure your eggs and sour cream are at room temperature. Cold ingredients can cause the melted butter to seize, resulting in an uneven, clumpy batter.
- The “Sugar Sprinkle” Finish: For a professional-looking crust, sprinkle a tablespoon of Turbinado (Raw) Sugar over the top of the batter before baking. It creates a beautiful glittery crunch.
- Check Your Baking Soda: Because this bread is heavy with fruit, it needs powerful leavening. If your baking soda is older than 6 months, replace it to ensure your bread doesn’t turn out dense and flat.
- Spoon and Level: Never scoop flour directly with your measuring cup. This packs the flour down, adding too much starch to the recipe. Spoon the flour into the cup and level it with a flat-edged knife.
Variations and Substitutions
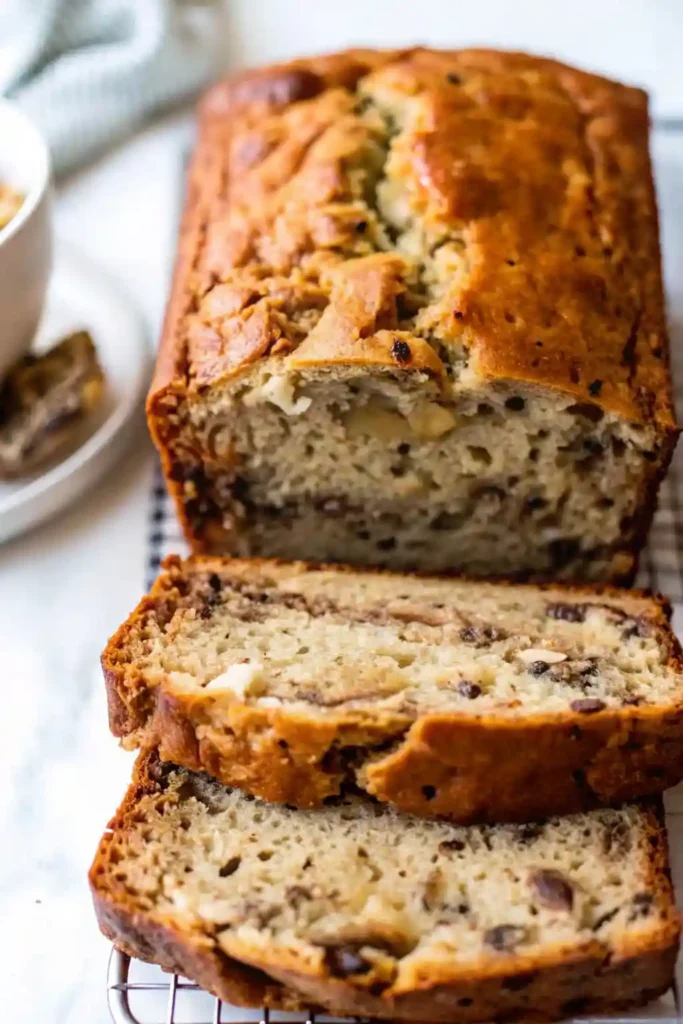
- The “Nutty” Loaf: Fold in 3/4 cup of toasted chopped walnuts or pecans for a classic textural contrast.
- Chocolate Chip Version: Add 1 cup of semi-sweet chocolate chips and sprinkle a few extra on top for a “Luxury Dessert” profile.
- The “Healthy-ish” Swap: Replace the sour cream with full-fat Greek yogurt and use coconut sugar instead of brown sugar.
- Espresso Infusion: Add 1 teaspoon of instant espresso powder to the dry ingredients to deepen the flavor and make the banana notes “pop.”
Storage and Freezing Guide
- Room Temperature: Store the cooled loaf in an airtight container for up to 3 days.
- The Refrigerator Improvement: Banana bread actually improves in flavor after 24 hours in the fridge. It becomes denser and more flavorful. It will stay fresh in the refrigerator for up to 1 week.
- Freezing: This is a freezer-friendly champion. Wrap the whole loaf (or individual slices) tightly in plastic wrap and then a layer of foil. It will stay fresh for up to 3 months. Thaw at room temperature for 2 hours before serving.
FAQ
Why did my banana bread sink in the middle? This is usually caused by opening the oven door too early in the baking process, which causes a sudden drop in temperature before the structure has set. Wait until at least the 50-minute mark to check for doneness.
Can I use frozen bananas? Yes! Thaw them completely in a bowl first. They will release a lot of liquid—do not discard this liquid. It is concentrated banana essence! Mash it all together and include it in the recipe.
My bread is dark on the outside but raw in the middle. What happened? This usually happens if your oven is running too hot. Use an oven thermometer to verify the temperature. If this happens, lower the heat to 325°F and tent the top with foil until the center is cooked through.
Can I make these as muffins? Absolutely. Fill a lined muffin tin 3/4 full and bake at 375°F for 18–22 minutes.

Moist Homemade Banana Bread (The Ultimate Bakery-Style Recipe)
Ingredients
Equipment
Method
- Preheat your oven to 350°F (175°C). Grease a standard 9×5-inch loaf pan with butter and line with parchment paper for easy removal.
- Peel your overripe bananas and mash them by hand with a fork until mostly smooth with a few small lumps. You should have about 1.5 cups of mashed banana.
- In a large mixing bowl, whisk together the melted butter, granulated sugar, and dark brown sugar. Add the egg, egg yolk, vanilla paste, and sour cream, whisking until smooth. Stir in the mashed bananas.
- In a separate bowl, whisk together the flour, baking soda, salt, and cinnamon. Sift the dry ingredients into the wet mixture and fold until just combined. Be careful not to over-mix.
- Pour the batter into the prepared loaf pan and smooth the top. Bake for 55 to 65 minutes, or until a toothpick comes out clean with a few moist crumbs.
- Let the bread cool in the pan for 15 minutes, then use the parchment paper to lift it out. Cool completely on a wire rack before slicing.


