Pear Jam disasters… let me tell you, I’ve been through a few. Either it came out like runny syrup (hello, sticky kitchen counter) or rock-hard sugar bricks that even my dog wouldn’t sniff.
If you’ve ever stood in your kitchen, staring at pears and thinking “Can I really make a sweet, foolproof spread at home?” you’re not alone. Pear Jam is hands-down my go-to for lazy mornings, quick gifts,
and those times when I need to feel like I’ve done something vaguely domestic. If I can pull this off, anyone can. Let’s skip the drama and actually enjoy a good jam, shall we?

Ingredients for Pear Jam
You don’t need a fancy degree or mystical spices here. All you really need? Good pears (the riper the better, honestly). You’ll want some basic pantry staples too. I can’t count how many times I’ve thrown this together with what’s lying around.
You’ll need:
- Pears: 4 cups, peeled and chopped. Bartlett works, but any sweet, juicy type does the trick.
- Sugar: 2 to 2.5 cups, depending on your sweet tooth (or your grandma’s.)
- Lemon juice: A big squeeze for balance and flavor.
- Pectin: Technically optional, but helps if you want that classic jam texture.
- A pinch of cinnamon or ginger if, like me, you enjoy a little hug in your jam.
No exotic or ridiculous ingredients. Just the basics, just right. I once swapped sugar for honey and, wow, not the smartest move here. Keep it simple.
How to Make Pear Jam
Alright. This isn’t rocket science, but you do want to keep your eyes on the pot, or you’ll have caramel (which is great, but… not today). Start by peeling, coring, and chopping the pears. Toss them in a big pan. Dump sugar over, add that lemon juice, and stir. Let it sit a few minutes so the pears start releasing their juice (feels oddly satisfying). Fire up medium heat and bring the whole mess to a gentle bubble, stirring now and then.
This is the “do not leave the kitchen” phase. Once it starts bubbling, keep stirring so nothing sticks. After maybe 20-ish minutes, the pears’ll be soft, almost jammy. Got pectin? Follow the box, toss it in, and stir well. If you’re winging it, just cook a bit longer till it gets nice and thick. Want smooth? Use a potato masher for a chunky vibe or an immersion blender if you want it like velvet.
It smells unreal at this point. Try not to spoon-feed yourself (I always do).
This recipe was easier than I expected! I finally made pear jam without burning it. Tastes exactly like my grandma’s, but fresher. – Kim, home cook
Pear Jam Variations
Now, don’t be shy. You can totally jazz things up. I’ll sometimes throw in vanilla bean (if I’m feeling bougie) or grate in a little fresh ginger for zing. My neighbor tosses in cardamom and swears by it, but honestly, that’s next-level. If you like a boozy hit, splash in a spoonful of bourbon or amaretto right at the end. My cousin tried rosemary once, which… was bold, but hey, it’s your jam. Play around. Just remember, add any herbs or stronger flavors near the end so you don’t end up with herb soup. Oh and, try mixing in some chopped apples or a handful of cranberries around the holidays for a little sparkle.
Bottom line: once you have the classic pear jam recipe down, the sky’s about the limit. Only problem? You’ll want to put it on everything.
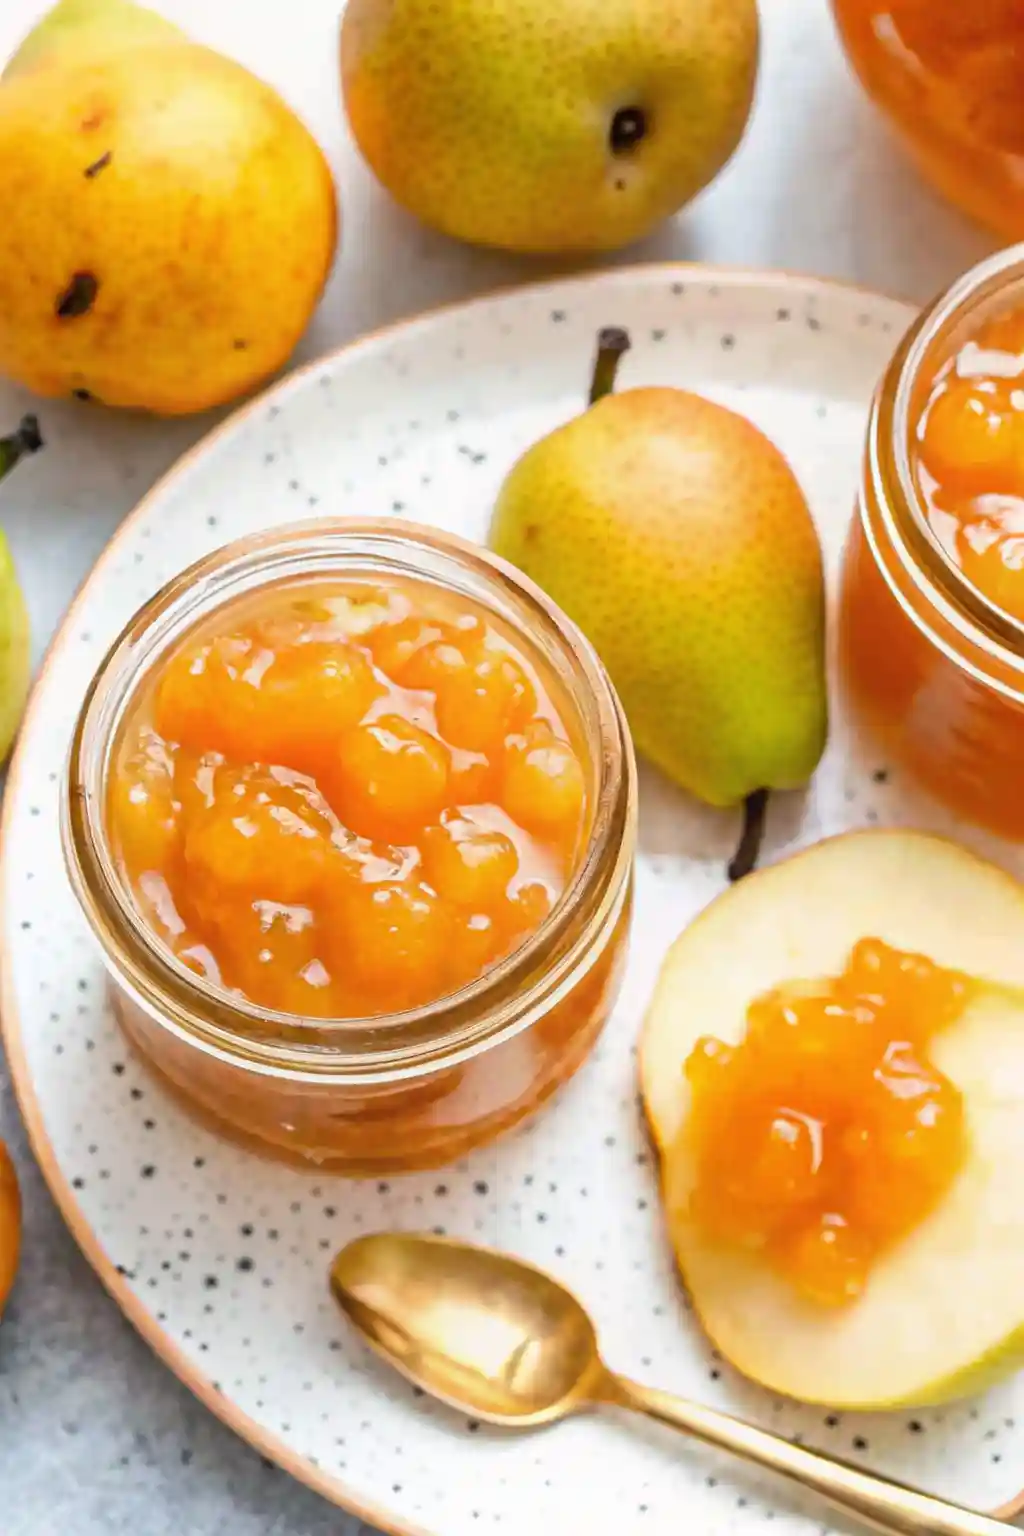
Canning Pear Jam
Okay. So here’s where I started getting nervous my first time. Canning is honestly way less scary than people make it sound. You just need some clean jars and a boiling pot of water. Scoop the hot pear jam into your warm jars (careful—hot jam burns are a real thing), leaving about a pinky’s width at the top. Wipe the rims clean, screw on the lids, and plop them into boiling water for about ten minutes.
That’s really it. You’ll hear the “pop” as they seal once they cool, which is weirdly thrilling. Store them somewhere dark and cool until next jam crisis arises (could be next week if you’re anything like me). Canning lets you squirrel away all that pear goodness long after the season’s gone. I promise, once you do it once, you’ll be teaching your neighbors.
Ways to Use Pear Jam
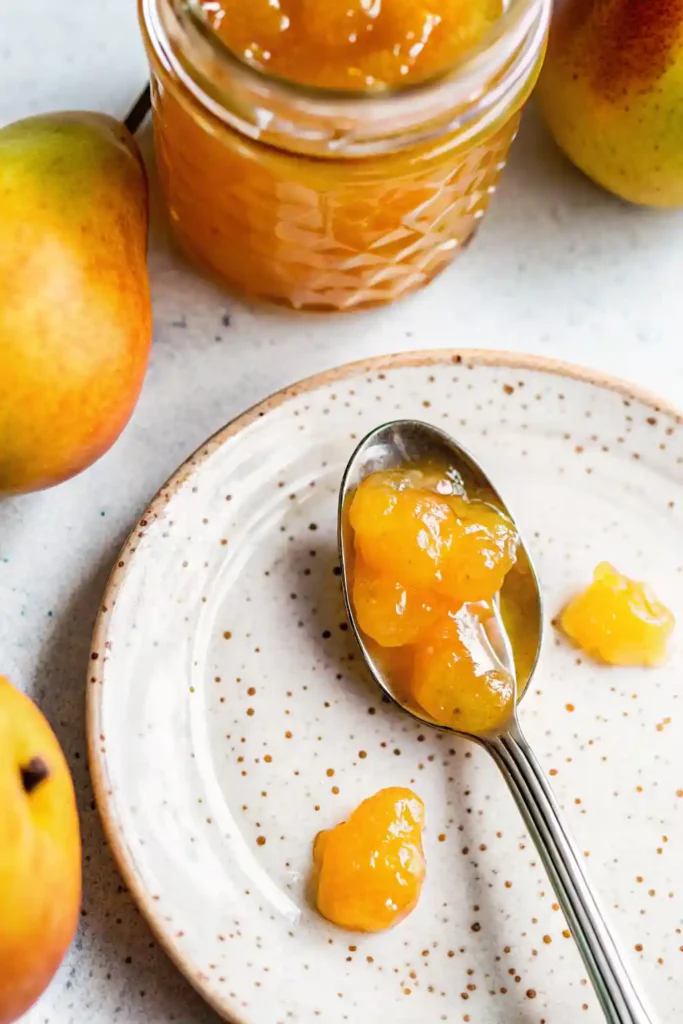
Okay now my favorite part: eating it. You can spread this stuff on anything and it’s somehow fancier. Here’s my rotate-through-the-week ideas:
- Slather it on warm toast for an easy breakfast that tastes like a five-star restaurant.
- Layer it on yogurt and granola – turns boring mornings into deluxe moments.
- Spoon it over pancakes or waffles when you want to show off to houseguests.
- Use it as a glaze for pork or chicken – sounds odd but tastes like you know what you’re doing.
I’ve even popped a spoonful in smoothies, but that’s probably for true jam hipsters. If you’ve got ideas? I wanna hear ‘em, seriously.
Common Questions
How long does homemade pear jam keep?
If you can it, up to a year in a cool, dark spot. Open jars? About three weeks in the fridge.
Do I need to use pectin?
You can skip it if you like softer jam, or cook it longer for a thicker feel. Totally optional, promise.
Can I freeze pear jam instead of canning it?
Absolutely. Make sure you leave room in the jar for expansion or you’ll have a frozen glass mess.
My jam came out too runny. Can I fix it?
Yup! Dump it back in the pot and simmer, lid off, till it firms up.
Is this recipe kid-friendly?
It’s super sweet and natural, so as long as you make it yourself, you know what’s in there.
Ready for Jam Greatness?
So, that’s my no-nonsense take on homemade pear jam. Simple ingredients, foolproof methods,
plus a few twists if you’re game. Trust me, once you try this you’ll wonder why you ever shelled out for store-bought.
Pear Jam
Ingredients
Equipment
Method
- Peel, core, and dice pears into small pieces. (You can mash later if needed.)
- In a large bowl, toss pears with lemon juice and sugar. Stir to coat evenly.
- Cover and refrigerate mixture for 4 to 24 hours to macerate.
- Transfer pears and syrup to a large saucepan. Bring to a boil over high heat, then reduce to medium-high and cook 10–15 minutes, stirring occasionally.
- Check for gel stage: jam should reach 220°F (105°C) or pass cold plate test.
- Ladle jam into hot, sterilized half-pint jars leaving ¼-inch headspace. Wipe rims clean and apply lids until fingertip tight.
- Place jars into prepared hot water bath canner. Process for 10 minutes. Turn off heat, let jars sit 5 minutes to prevent siphoning.
- Transfer jars to towel-lined surface with 1-inch spacing. Let cool completely. Check seals and store sealed jars in a cool, dark place. Refrigerate unsealed jars and use within 1–2 weeks.


