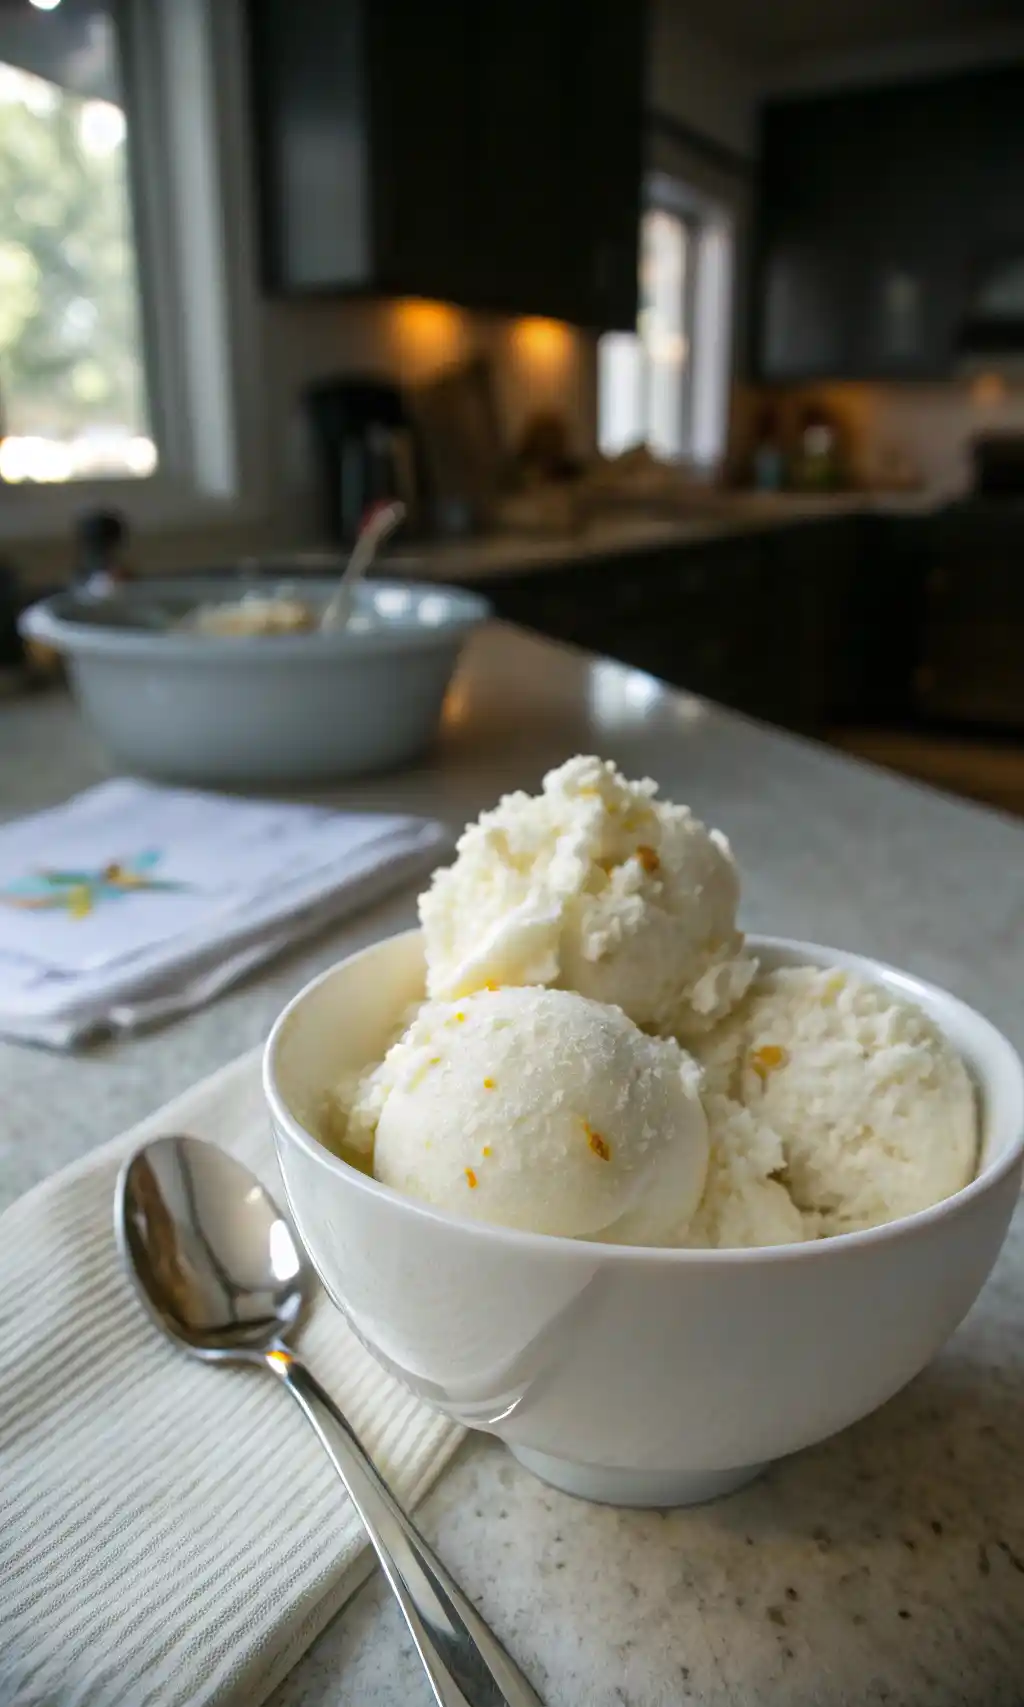
Tired of missing out on the magic of fresh snowfall? Transform that pristine powder into a delightful treat your family will love! This snow ice cream recipe delivers creamy, customizable dessert that takes just minutes to prepare. As someone who grew up in snow country, I’ve perfected this childhood classic through countless winter experiments. In this guide, you’ll discover everything from selecting the perfect snow to creative flavor variations, plus troubleshooting tips for perfect results every time.
Why This Snow Ice Cream Recipe Works
- Uses fresh snow you can collect right outside your door
- Requires just 4 basic ingredients most homes already have
- Ready in under 10 minutes with no special equipment needed
- Customizable with endless flavor possibilities
- Creates magical memories during winter months
Choosing the Right Snow
Best Snow for Ice Cream
Fresh, clean snow is essential for this recipe. Look for newly fallen snow in open areas away from roads, trees, or buildings. The fluffier the snow, the lighter and airier your ice cream will be. Powdery snow creates the best texture, while dense or partially melted snow can make your dessert too watery.
Collecting Tips
Gather snow using a large, clean bowl or pot. Place your collection container outside just as snow begins falling for the purest results. Alternatively, scoop from the top layer of fresh accumulation, avoiding any discolored areas. For food safety, never use snow that’s been on the ground for more than a few hours.
Substitutions
No snow in your area? Create a similar treat using crushed ice processed in a blender until it reaches a snow-like consistency. While not identical to the real thing, this method still produces a refreshing frozen dessert when combined with the other ingredients.
Ingredients & Prep
Snow Prep Essentials
For this recipe, you’ll need approximately 8-10 cups of fresh, clean snow. Collect slightly more than needed as some will melt during preparation. Pre-chill your mixing bowl in the freezer for 15 minutes before beginning to help prevent premature melting.
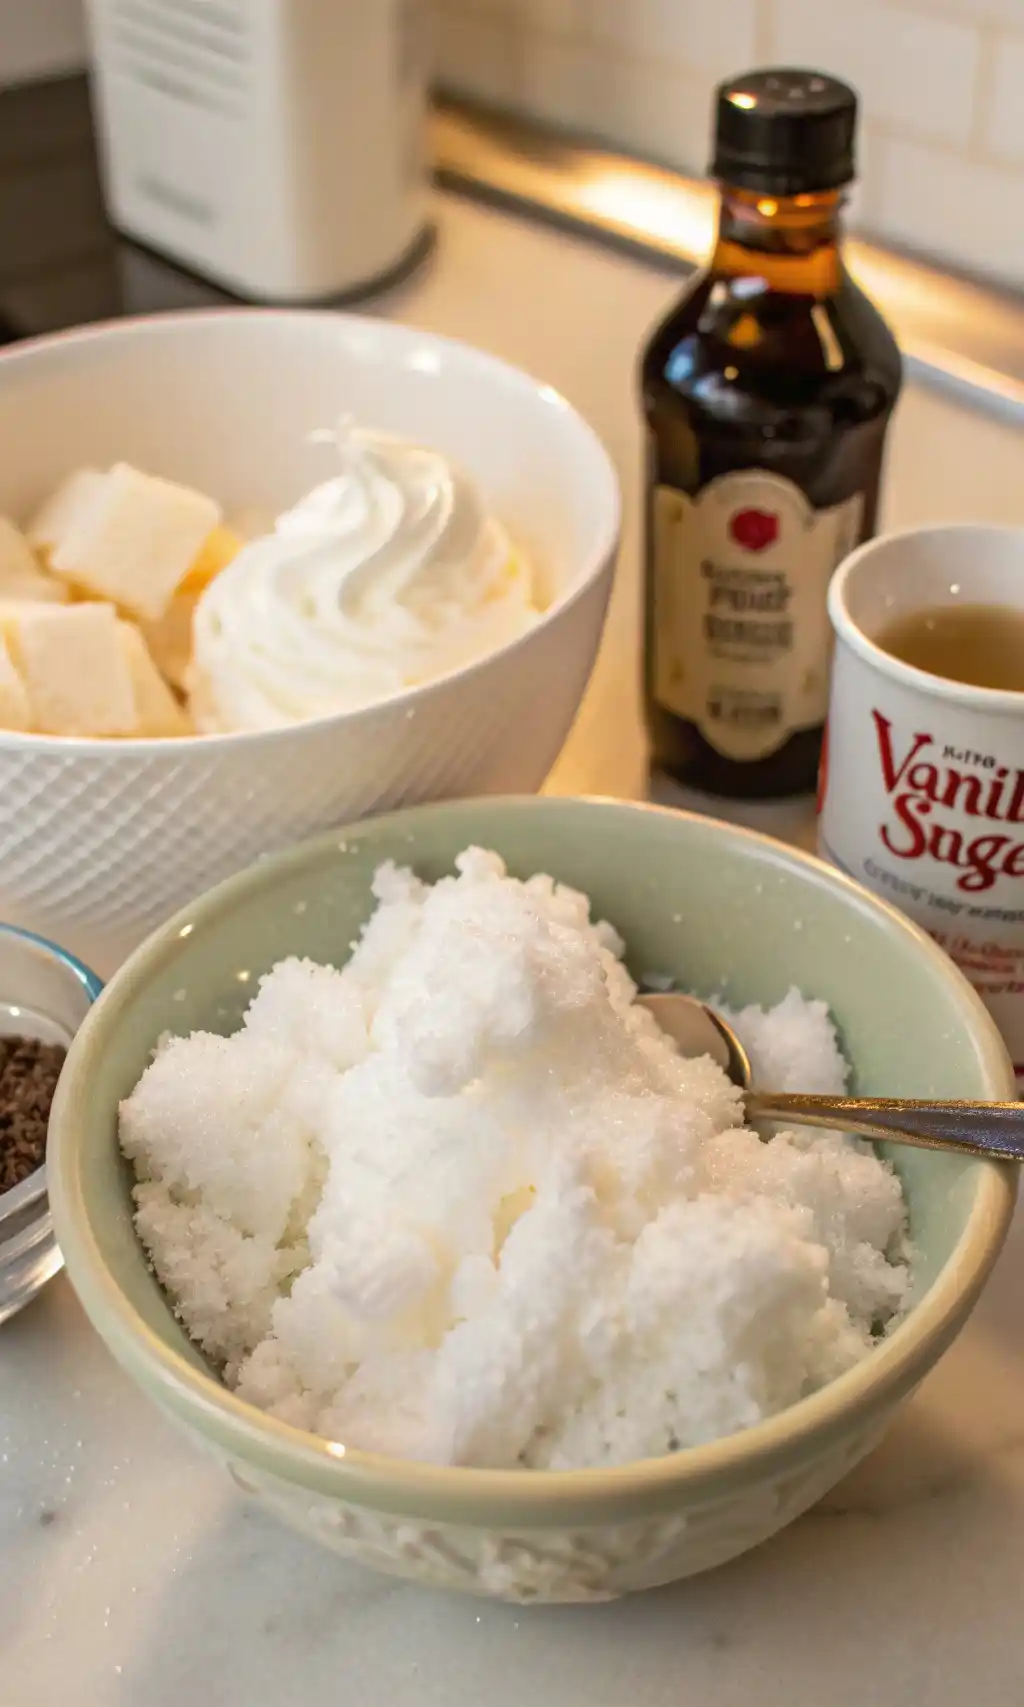
Base Ingredients
- 8-10 cups fresh snow
- 1 cup milk (whole milk works best)
- 1/3 cup granulated sugar
- 1 teaspoon vanilla extract
Optional Add-ins
- Chocolate syrup
- Caramel sauce
- Sprinkles
- Fresh berries
- Crushed cookies
- Chopped nuts
Step-by-Step Cooking Instructions
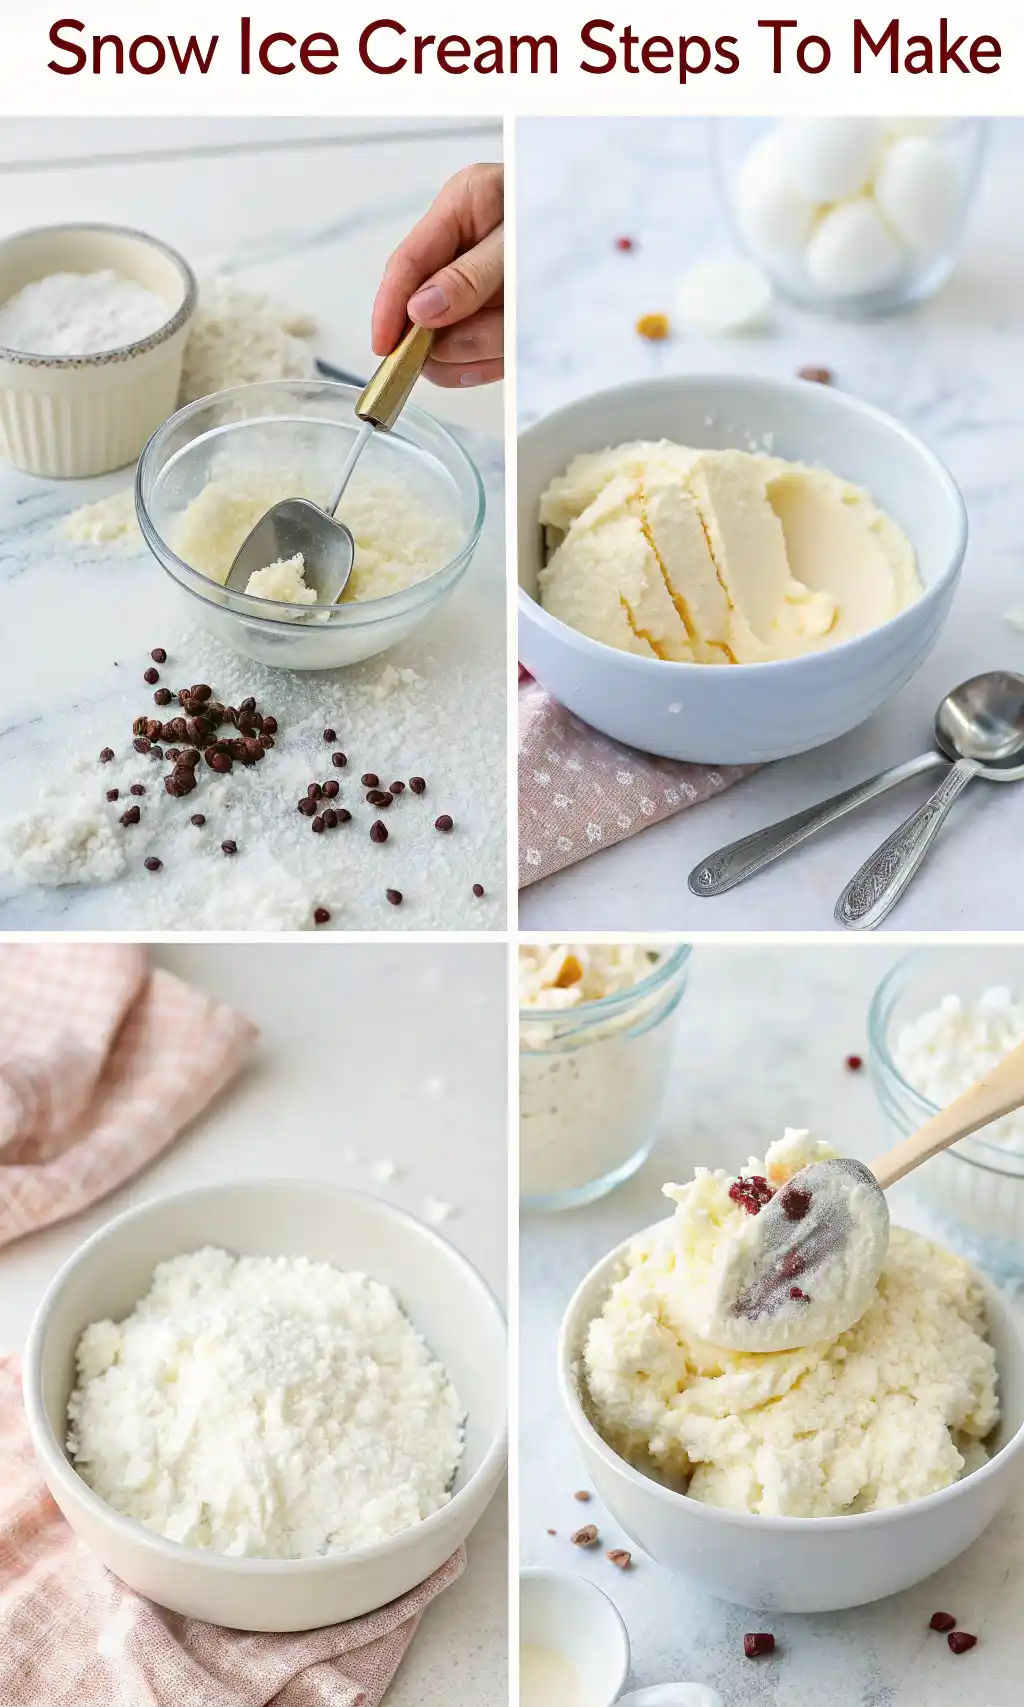
Step 1: Prepare the Sweet Base
In your pre-chilled bowl, whisk together milk, sugar, and vanilla extract until the sugar dissolves completely. For best results, use cold milk straight from the refrigerator. This mixture forms the sweet, creamy base that transforms plain snow into dessert.
Step 2: Add Snow Gradually
Working quickly, add fresh snow to your liquid mixture one cup at a time, gently folding after each addition. Continue until you achieve a consistency similar to soft-serve ice cream. The exact amount of snow needed will vary depending on its density and temperature.
Step 3: Test Consistency
Your snow ice cream should hold its shape when scooped but still be easily spoonable. If it’s too runny, add more snow. If it’s too thick, sprinkle in a bit more milk and stir gently. The perfect consistency resembles traditional ice cream or frozen yogurt.
Step 4: Flavor and Serve
Transfer your snow ice cream to serving bowls immediately. Add any desired toppings or mix-ins quickly, as this treat melts faster than conventional ice cream. Serve with cold spoons for the best eating experience.
Step 5: Enjoy Immediately
Unlike traditional ice cream, snow ice cream doesn’t refreeze well. It’s best enjoyed right after making, so gather everyone around for this fleeting winter treat!
Pro Tips for Perfect Snow Ice Cream
Avoiding Runny Results
The biggest challenge with snow ice cream is preventing premature melting. Keep all ingredients and equipment as cold as possible. Work quickly once you begin mixing, and serve immediately for the best texture and flavor.
Tool Recommendations
While no special equipment is necessary, a pre-chilled metal mixing bowl helps maintain the cold temperature. Wooden spoons work better than metal ones as they don’t conduct heat to the mixture. Insulated serving bowls will help your creation last longer once served.
Storage Limitations
Snow ice cream is best enjoyed fresh and doesn’t store well. If you must save leftovers, transfer to a shallow container and place in the freezer, but expect a change in texture and taste when thawed. For best results, make only what you’ll consume immediately.
Flavor Variations
Classic Chocolate
Add 3 tablespoons of unsweetened cocoa powder to your milk mixture before combining with snow. For extra richness, drizzle with chocolate syrup before serving.
Dairy-Free Option
Substitute regular milk with coconut milk or almond milk for a dairy-free version. Coconut milk creates an especially creamy texture with a subtle tropical flavor that pairs beautifully with the snow.
Maple Cinnamon
Replace vanilla extract with 2 tablespoons of pure maple syrup and add 1/2 teaspoon of ground cinnamon to the milk mixture. Top with a sprinkle of additional cinnamon for a warming winter treat.
Serving Suggestions
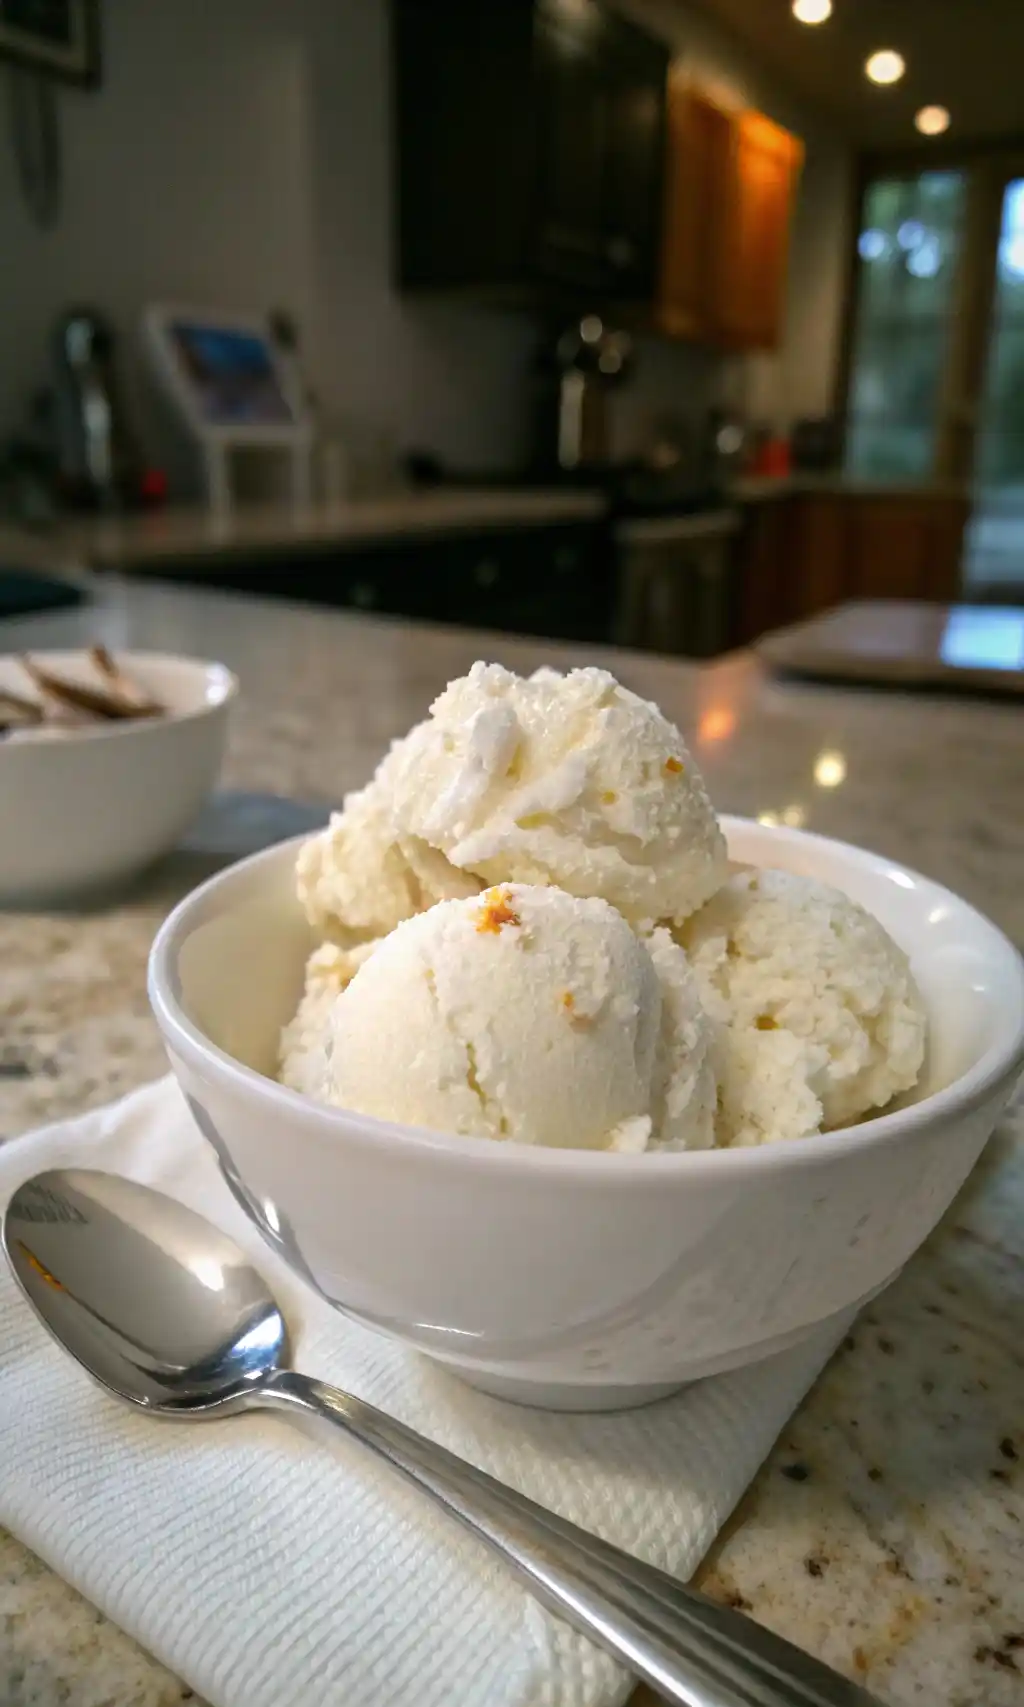
Serve your snow ice cream in chilled bowls with an assortment of toppings in small dishes, creating a build-your-own snow ice cream bar. Pair with hot chocolate for a delightful temperature contrast. For adults, serve alongside coffee spiked with a splash of Baileys or Kahlua for an indulgent winter dessert experience.
FAQs
Is snow ice cream safe to eat?
Yes, when made with clean, fresh snow collected from uncontaminated areas. Avoid using snow from roadsides, under trees, or anywhere that might contain pollutants. Some parents prefer to collect snow in clean containers placed outside as it’s falling rather than scooping from the ground.
Can I make snow ice cream ahead of time?
Unfortunately, snow ice cream doesn’t store well. It’s best made and eaten immediately, as refreezing changes the texture significantly. This treat is all about capturing a fleeting winter moment!
What if my snow ice cream is too runny?
Simply add more fresh snow and stir gently until you reach your desired consistency. Working quickly and using pre-chilled bowls helps prevent premature melting.
Conclusion
Turn the next snowfall into a delicious memory with this simple snow ice cream recipe! It’s a magical winter activity that transforms ordinary ingredients into something special. Don’t forget to share your snow ice cream creations on social media and tag us – thousands of families have already discovered the joy of this nostalgic treat! Looking for more seasonal recipes? Check out our homemade hot chocolate mix or maple snow taffy guides next!
Snow Ice Cream
Ingredients
Method
- In a pre-chilled bowl, whisk together milk, sugar, and vanilla extract until the sugar dissolves completely.
- Gradually add fresh snow to the mixture, one cup at a time, gently folding after each addition until you achieve a soft-serve ice cream consistency.
- Serve immediately in bowls with your choice of toppings, such as sprinkles, chocolate syrup, or fresh berries.


Comments 1