This recipe for Easy Homemade Cheez-Its is about to become your new favorite snack. It transforms a few simple ingredients into the most addictive, cheesy, and perfectly crisp crackers that are worlds better than the store-bought version. Made with real sharp cheddar cheese, they have an intensely savory and rich flavor that’s completely irresistible.
The process is surprisingly simple and fun, from making the quick dough to cutting out the iconic little squares and poking the signature hole in the middle. These crackers bake up incredibly flaky and crunchy, satisfying all your salty snack cravings. Get ready to never go back to the box again!
Why You’ll Love This Recipe
- Better Than Store-Bought: Packed with real, sharp cheddar cheese flavor and no artificial ingredients.
- Incredibly Easy: A straightforward recipe with a simple dough that comes together in minutes.
- Super Crispy & Cheesy: The perfect flaky, crunchy texture and rich, savory taste.
- Fun to Make: A great kitchen project that’s fun for all ages.
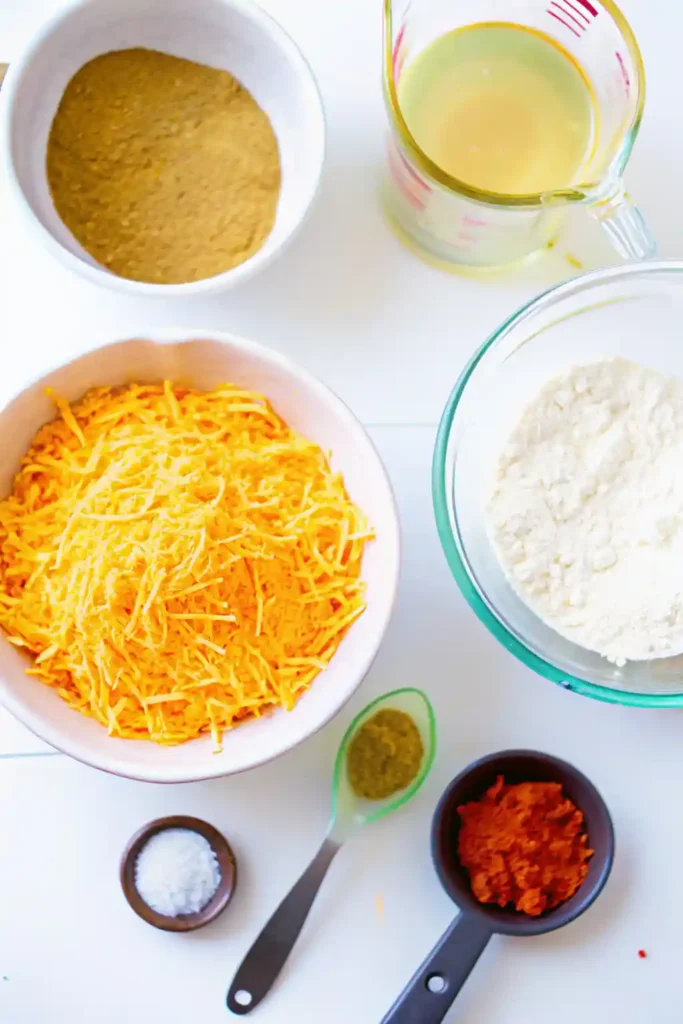
Ingredients
- 8 oz Sharp or Extra-Sharp Cheddar Cheese, finely shredded
- 1 cup All-Purpose Flour
- 4 tablespoons Cold Unsalted Butter, cut into 1/2-inch cubes
- 1/2 teaspoon Salt
- 1/4 teaspoon Paprika
- 3-4 tablespoons Ice Cold Water
- For Topping: Coarse sea salt for sprinkling
Step-by-Step Instructions
- Prep the Dough: In the bowl of a food processor, combine the shredded cheddar cheese, flour, salt, and paprika. Pulse a few times to combine.
- Add Butter: Add the cold butter cubes to the food processor. Pulse until the mixture resembles coarse crumbs.
- Form the Dough: With the processor running, slowly drizzle in 3 tablespoons of ice water until the dough just starts to come together into a ball. If it’s too dry, add the remaining tablespoon of water.
- Chill the Dough: Form the dough into a flat disk, wrap it tightly in plastic wrap, and refrigerate for at least 30 minutes, or up to 24 hours.
- Roll and Cut: Preheat your oven to 375°F (190°C). On a lightly floured surface, roll the chilled dough out as thin as you can, about 1/16-inch thick. Use a pizza cutter or a fluted pastry wheel to cut the dough into 1-inch squares.
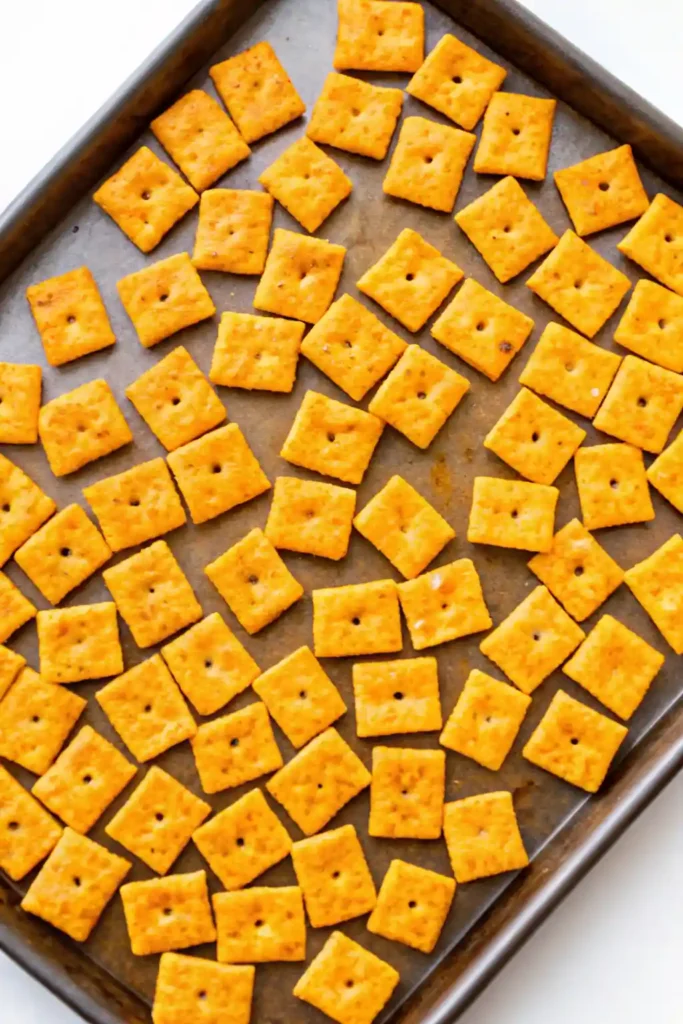
- Shape and Bake: Use a skewer or a chopstick to poke a small hole in the center of each square. Carefully transfer the crackers to a parchment paper-lined baking sheet. Sprinkle them lightly with coarse sea salt.
- Bake: Bake for 12-15 minutes, or until the edges are golden brown and the crackers are crisp. Let them cool completely on the baking sheet—they will continue to crisp up as they cool.
Tips & Variations
- Pro Tip: Rolling the dough as thinly as possible is the absolute key to achieving that signature light, crispy Cheez-It texture.
- Cheese Variations: While sharp cheddar is classic, feel free to experiment with other hard cheeses like Parmesan, Gruyère, or a spicy pepper jack.
- Make it Spicy: Add a pinch of cayenne pepper or a 1/2 teaspoon of smoked paprika to the dough for a little extra kick.
- No Food Processor? You can make the dough by hand. Use a pastry blender or your fingers to cut the butter into the flour and cheese mixture, then stir in the water with a fork.
Frequently Asked Questions (FAQ)
- How do I get my crackers perfectly crispy?
- The secret is three-fold: roll the dough very thin, bake until the edges are nicely browned, and let them cool completely on the baking sheet before enjoying.
- How do I store homemade Cheez-Its?
- Store them in an airtight container at room temperature. They will stay crispy for up to a week.
- Why aren’t my crackers bright orange like the ones from the box?
- Store-bought crackers use artificial colors. This recipe gets its natural orange hue from the cheddar cheese and a little bit of paprika.
Serving Suggestions
- These homemade Cheez-Its are perfect on their own as a snack, but they are also fantastic served with a bowl of tomato soup, crumbled over a salad as “croutons,” or included on a charcuterie board.
Easy Homemade Cheez-Its (Better Than The Box!)
Transform a few simple ingredients into addictive, cheesy, and perfectly crispy crackers. These homemade Cheez-Its are better than the store-bought version and made with real sharp cheddar cheese, creating a rich flavor and irresistible texture.
Ingredients
Method
- In a food processor, combine the shredded cheddar cheese, flour, salt, and paprika. Pulse a few times to combine.
- Add cold butter cubes to the food processor and pulse until the mixture resembles coarse crumbs.
- With the processor running, slowly drizzle in 3 tablespoons of ice cold water until the dough just starts to come together. Add the remaining tablespoon of water if the dough is too dry.
- Wrap the dough in plastic wrap and refrigerate for at least 30 minutes or up to 24 hours.
- Preheat your oven to 375°F (190°C). On a floured surface, roll the chilled dough out to about 1/16-inch thick. Cut the dough into 1-inch squares using a pizza cutter or fluted pastry wheel.
- Poke a small hole in the center of each square using a skewer or chopstick. Transfer the crackers to a parchment-lined baking sheet and sprinkle with coarse sea salt.
- Bake for 12-15 minutes, or until the edges are golden brown and the crackers are crisp. Let them cool completely on the baking sheet.
Notes
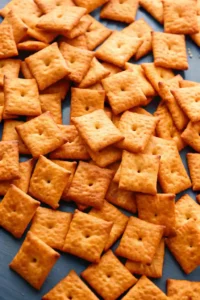
This recipe for Easy Homemade Cheez-Its gives you crispy, flaky crackers with a rich, savory cheddar flavor. They’re fun to make and completely customizable, so you can adjust the seasonings and cheese types to your liking. Once you taste these, you’ll never want the boxed version again.

